3.2 Vector Shapes
MicroCity can open, create and edit ArcGIS shapefiles (*.shp) which are called Shapes and maintained in the Data Tab of the Workspace Panel. By using modules (see 3.7) other vector file formats, such like Scalable Vector Graphics (*.svg) and AutoCAD Drawing Exchange Format (*.dxf), can also be imported or exported.
Opening, Creating, Saving and Closing Shapes
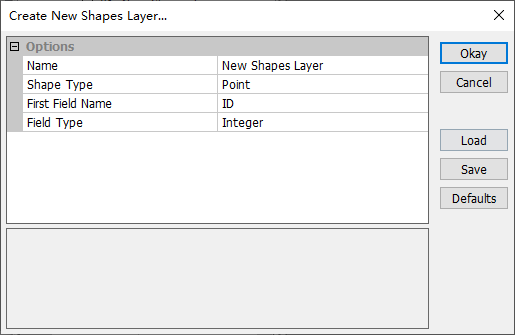
Users can click  Load button or File->Shapes->Load menu item to open an ArcGIS shapefile (*.shp) as a Shapes. Creating a new Shapes can be done from menu File->Shapes->New and the pop-up dialog as shown below. Users can choose one shapes type from
  Point,
  Line and
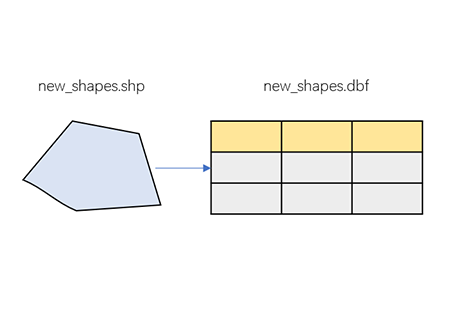
  Polygon. The relationship between a ArcGIS shapefile (*.shp) and a same named dBase file (*.dbf) is also shown.
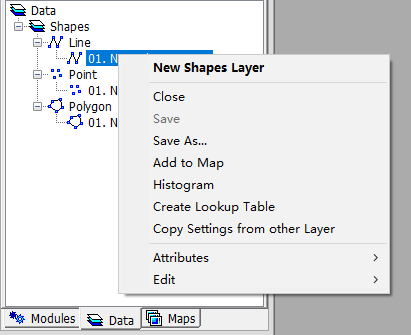
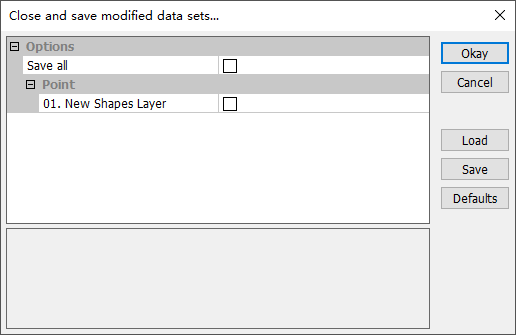
Saving a Shapes can be done from the right click context menu Save or Save As. You can also close a Shapes from the menu and get a prompt dialog to save it.
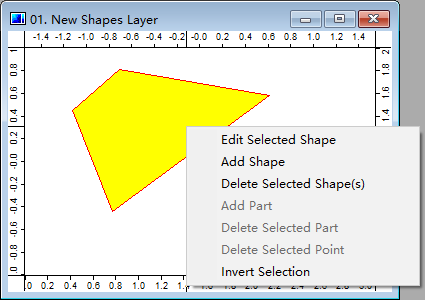
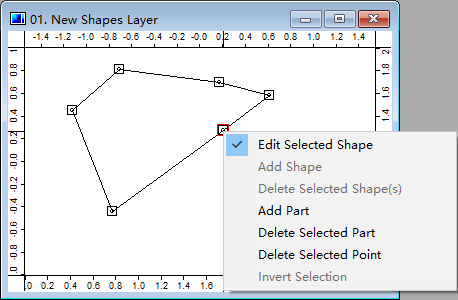
Showing and Editing Shapes
Double click a Shapes from the Data Tab will give you a map view (for maps and layers see 3.6). Toggle  Action botton and right click a Shape in a Shapes layer and choose Edit Selected Shape then go to the Editing Mode. In this mode users can add/delete parts and add/delete points in a shape (for data structure of a shape see 2.2). The associated attributes table (*.dbf) of a Shapes can be accessed through right-clicking context menu Attributes->Table->Show (see the tutorial 2.1).
Display Settings and Data Visualization
Users can change Shapes outline, fill, labels and other display settins from the Settings Panel. Some options can connect attribute data and give visualization functionalities (for example 2.1).